Hướng dẫn cài đặt HestiaCP
Cập nhật ngày 30/07/2025
Lượt xem: 692
Lượt xem: 692
HestiaCP là bảng quản trị Web mã nguồn mở dành cho VPS, nó rất nhanh, rất nhẹ, rất mượt, hơi nghèo tính năng.
Thông tin
Trang chủ: https://hestiacp.com/
Github: https://github.com/hestiacp/hestiacp
File Manager: https://github.com/ngatngay/hestiacp-file-manager
Trình tạo mã cài đặt: https://hestiacp.com/install.html
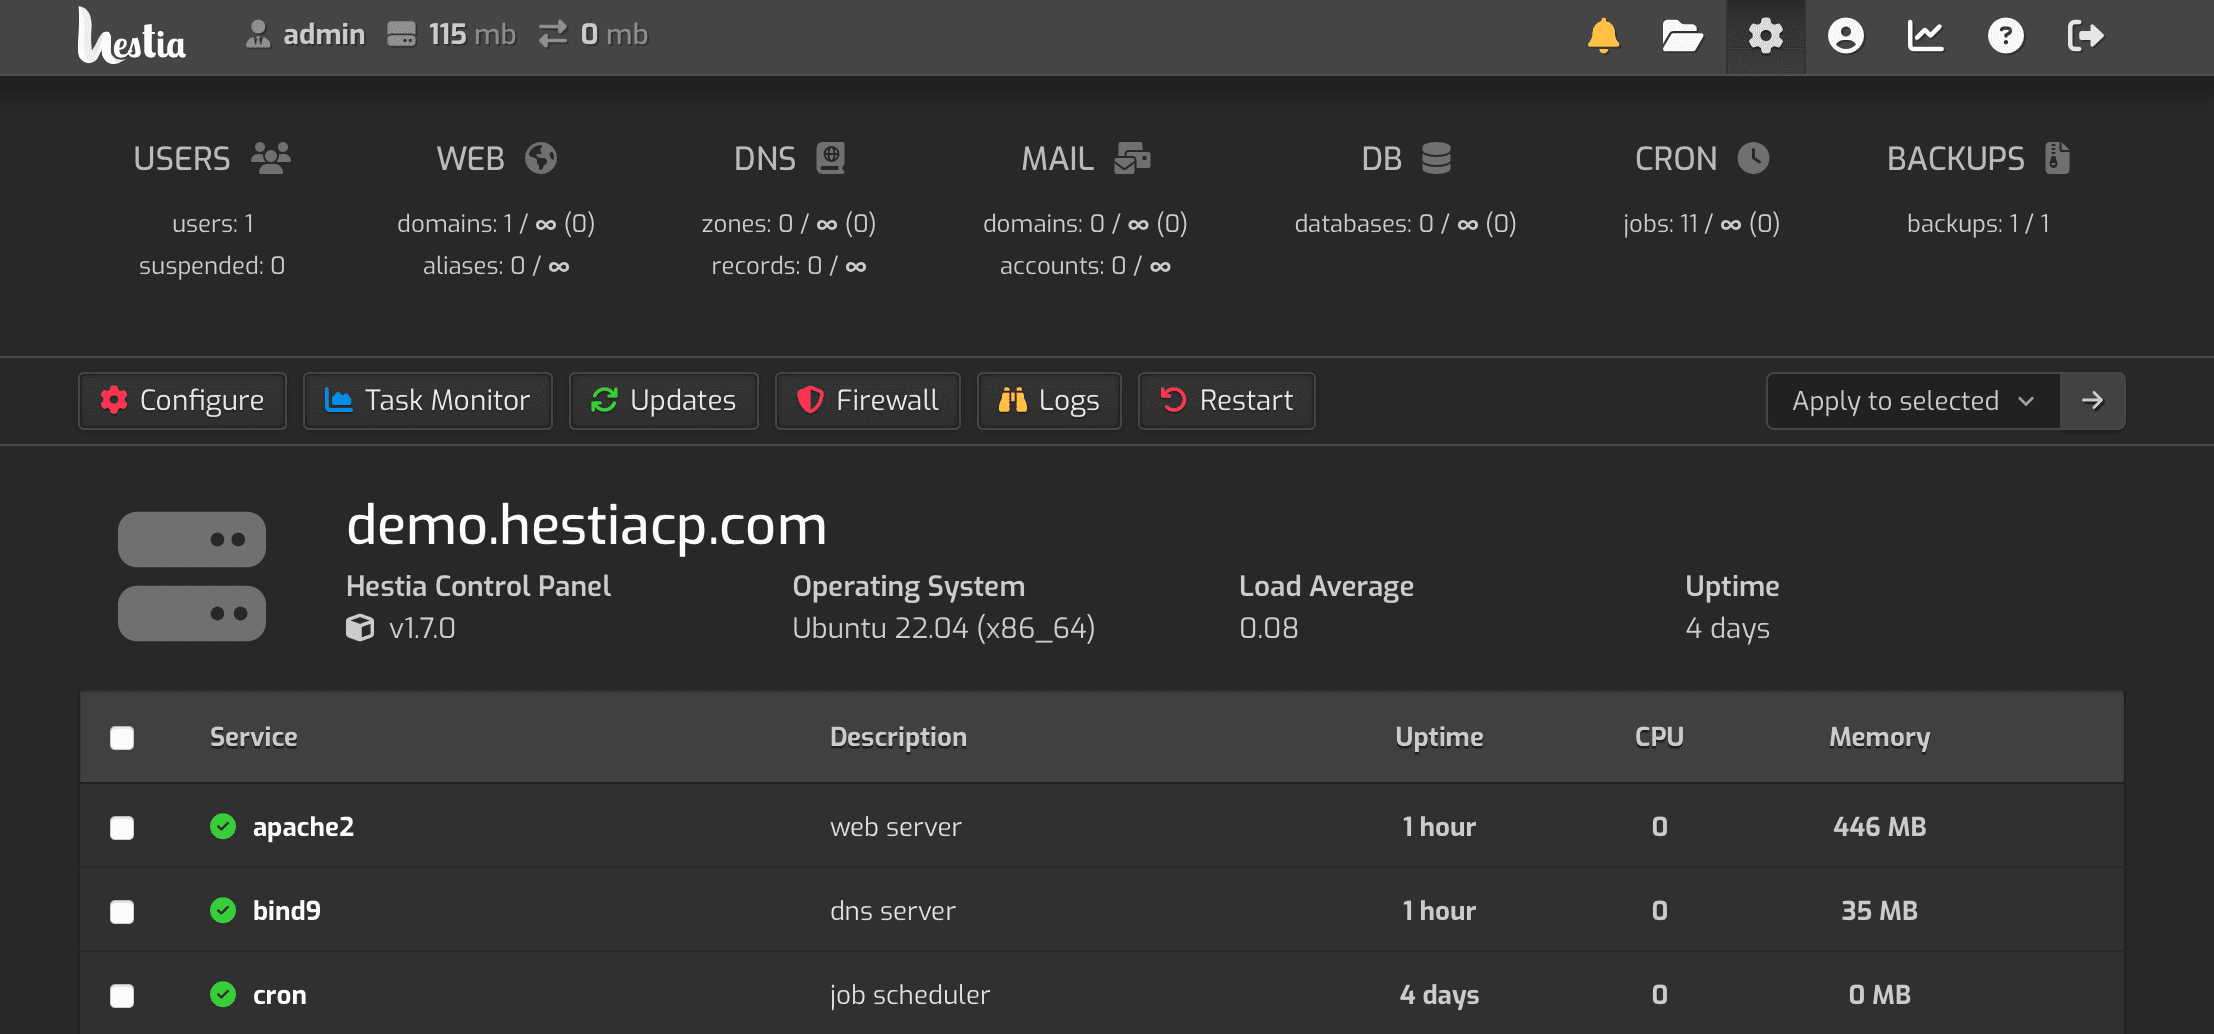
Demo

Chuẩn bị trước khi cài đặt
Đọc trước:
- VPS Ubuntu 20 LTS hoặc Ubuntu 22 LTS (ưu tiên 22 mặc dù tao cài trên 22 bị lỗi)
- hoặc VPS Debian 10, 11, 12
Thao tác ban đầu:
- Cài lại VPS.
- Đợi 30 phút.
Đăng nhập SSH, chạy lệnh:
sudo apt update
sudo apt upgrade
– Đổi mật khẩu nếu cần, lệnh đổi:
passwd– Chạy lệnh:
sudo reboot– Đợi 5 phút.
Tiến hành cài đặt
– Đăng nhập SSH.
– Chạy lệnh.
sudo apt update
sudo apt upgrade
apt-get update && apt-get install ca-certificates
wget https://raw.githubusercontent.com/hestiacp/hestiacp/release/install/hst-install.sh
bash hst-install.sh --multiphp yes --named no --exim no --dovecot no --clamav no --spamassassin no– Làm theo những gì nó bảo.
Cấu hình sau khi cài đặt thành công
phpMyAdmin
File cấu hình
vi $HESTIA/conf/mysql.confMặc định nó cấm đăng nhập vào phpMyAdmin bằng IP VPS, làm theo code sau để mở.
- [ip] là IP VPS của bạn
nano /etc/apache2/conf.d/[ip].conf

# Add the following code before both </VirtualHost> closing tags
IncludeOptional /etc/apache2/conf.d/*.inc

# Restart apache2
systemctl restart apache2

# You can also add the following in /etc/apache2.conf instead
IncludeOptional /etc/apache2/conf.d/*.inc
# Fix chmod
chown -R root:www-data /etc/phpmyadmin/
chown -R root:www-data /usr/share/phpmyadmin/tmp/File Manager
File Manager mặc định của nó rất ngu.
Cấu hình:
vi /usr/local/hestia/web/fm/configuration.phpProxy
sudo a2enmod ssl
sudo a2enmod proxy
sudo a2enmod proxy_balancer
sudo a2enmod proxy_http

systemctl restart apache2
PHP
aPCU
Cài đặt
sudo apt install php7.4-apcu

sudo systemctl reload apache2
Cấu hình
nano /etc/php/7.4/cli/php.iniThêm vào cuối file nếu chưa có
apc.enable_cli=OnKiểm tra
php7.4 -i | grep apc.enableMở open_basedir (nên mở nếu dùng cá nhân)
cho php 7.4
vi /usr/local/hestia/data/templates/web/php-fpm/PHP-7_4.tplcho php mặc định
vi /usr/local/hestia/data/templates/web/php-fpm/default.tplcập nhật cấu hình
v-rebuild-users
Share code mã hoá văn bản thành mã HTML ASCII
Share Code NCK Blog
GIT Diff Highlighter
Cách tăng hiệu suất Máy tính chạy Windows 10 lên mức tối đa
MySQL Cheat Sheet
Hướng dẫn kết nối ADB không dây bằng Termux
Cấu hình Virtual Host XAMPP trên Linux
Share CSS làm văn bản nhấp nháy liên tục
Share Script PowerShell chuyển đổi video hàng loạt sang MP4 bằng FFMPEG
Hướng dẫn kiểm tra thông tin ứng dụng .APK


